I've had a couple months off from the blog, but I'm going to try and get back into it again.
To jump back in, I'm going to try and figure out how the game Teardown renders so many voxels and makes it look so pretty at the same time!
I'm going to carry on with flat blend at some point, it's in dire need of some restructuring to require less boilerplate when adding render passes. Adding that grid took way more effort than I think it should, sapping my motivation along with it.
Before anything, I just want to make it clear that I'll be doing a good amount of guessing here, and my guesses will be wrong in many cases, but hopefully some guesses will be right 😅.
Teardown
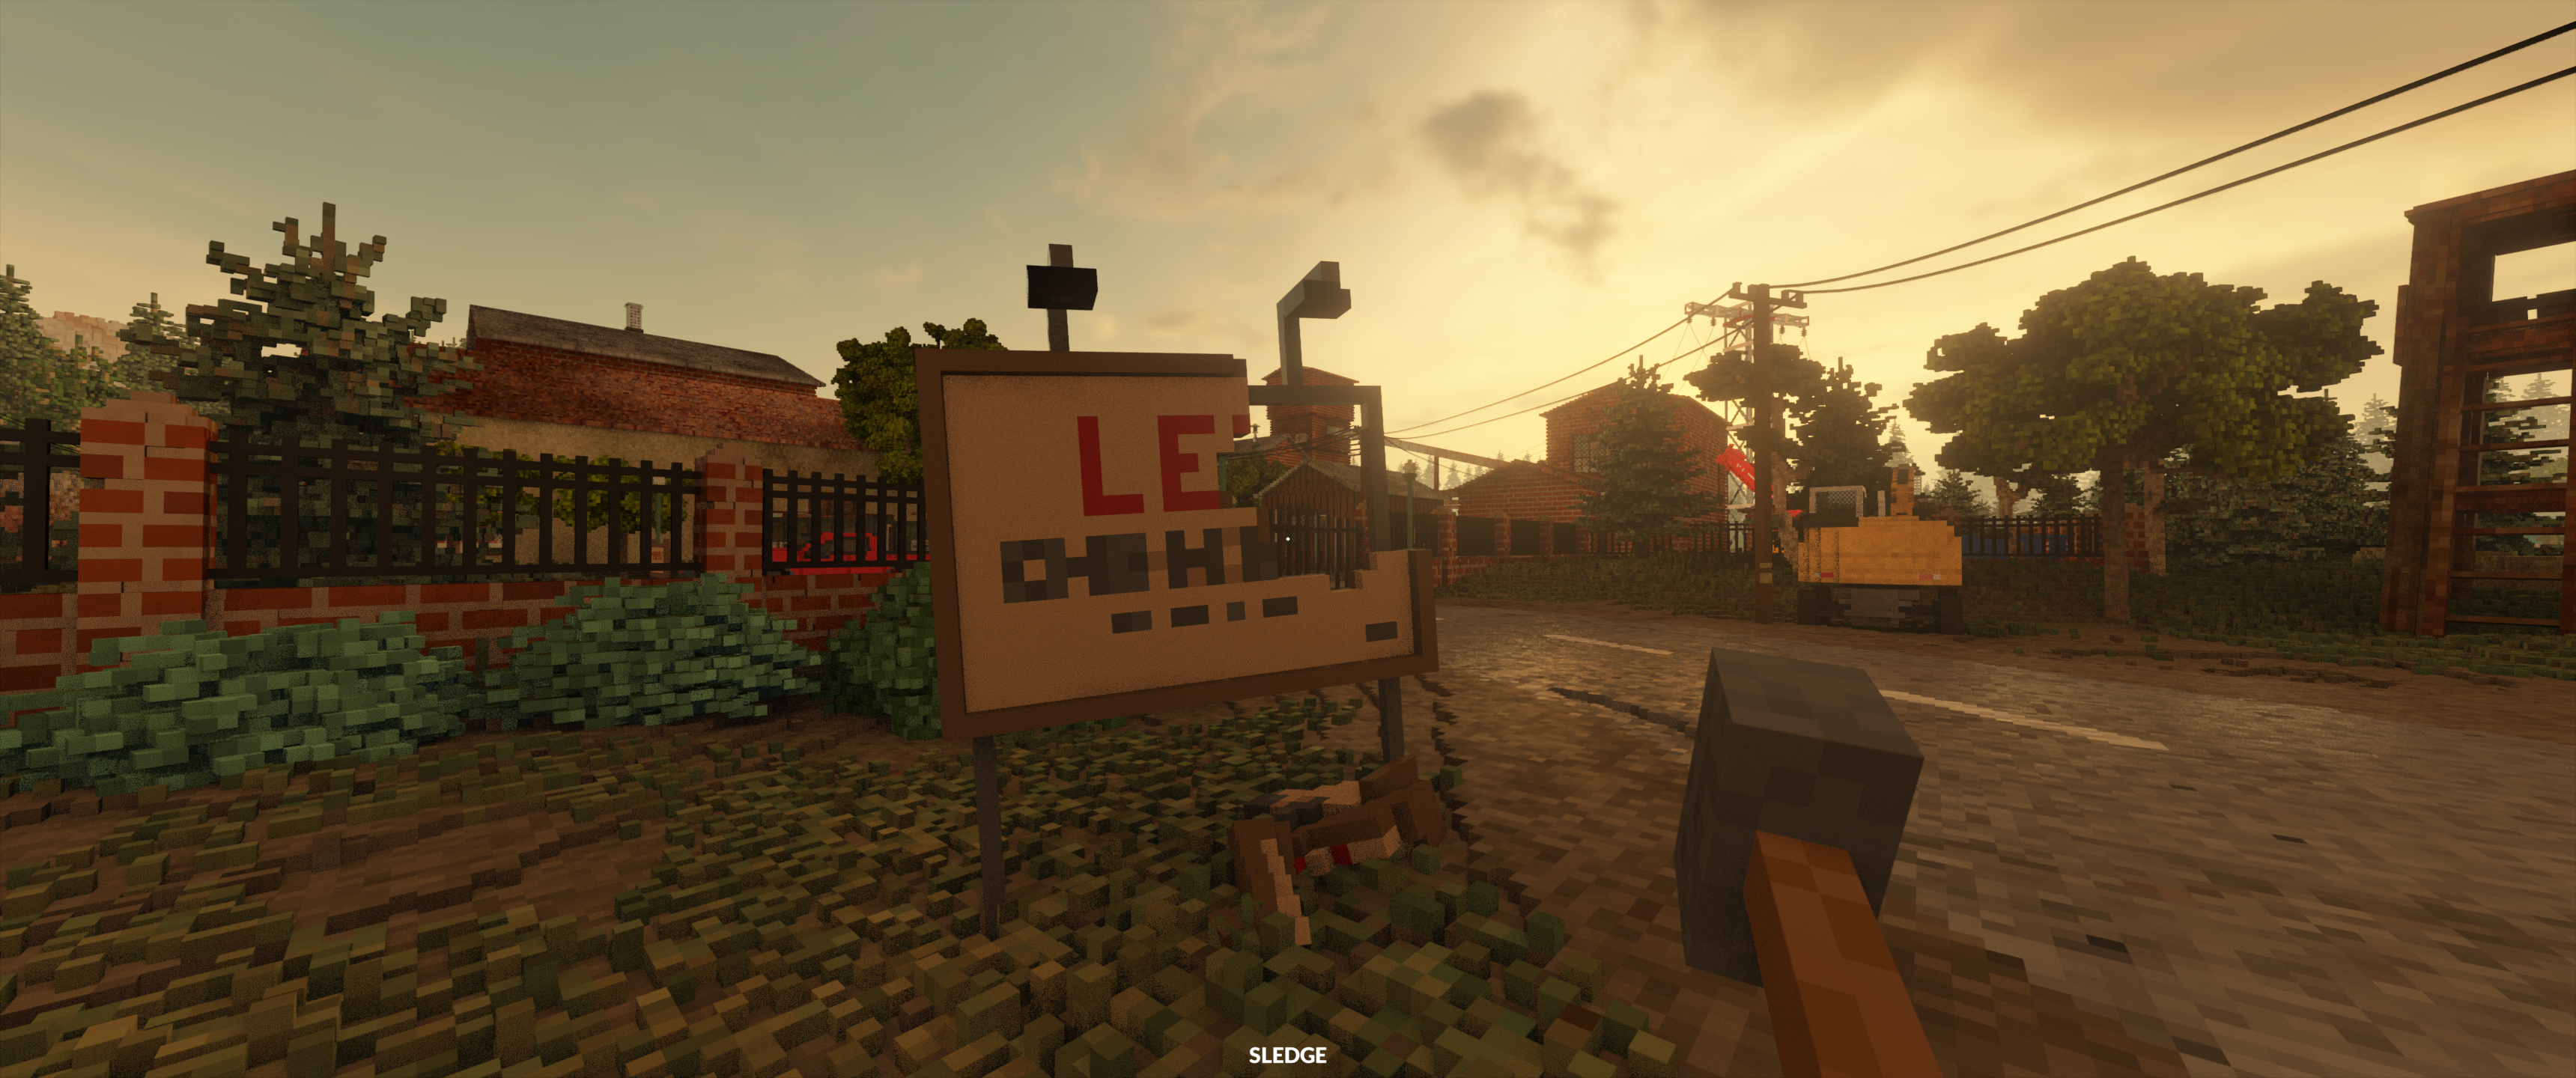
Teardown is a destruction simulation sandbox game where you warp the environment to complete heists. If you haven't seen any footage of it yet, give some a watch, it's very impressive.
The frame I have captured for analysis doesn't do the games capabilities any justice, but for the sake of figuring out what was going on, I thought it would be best to keep simple.
Voxels
The first thing in the rendering job list (after clearing the screen, and doing something with this texture!?!?) is some voxels! Voxels are the 3D equivalent of pixels. Similarly to 2D images, the data that is stored per voxel doesn't have to be colour values meant for human consumption.
In the case of Teardown, the 3D textures contain references to indexed colours, which are held in a separate texture. This technique was utilised in a lot (sometimes involuntarily) in early games, but it's benefits still ring true in its usage today. By using it in Teardown, the developer saved ~75% of storage per voxel because they only need to store a single colour channel. Due to the extra dimension, voxel data can get very big very quick, so any space saving makes a great impact.
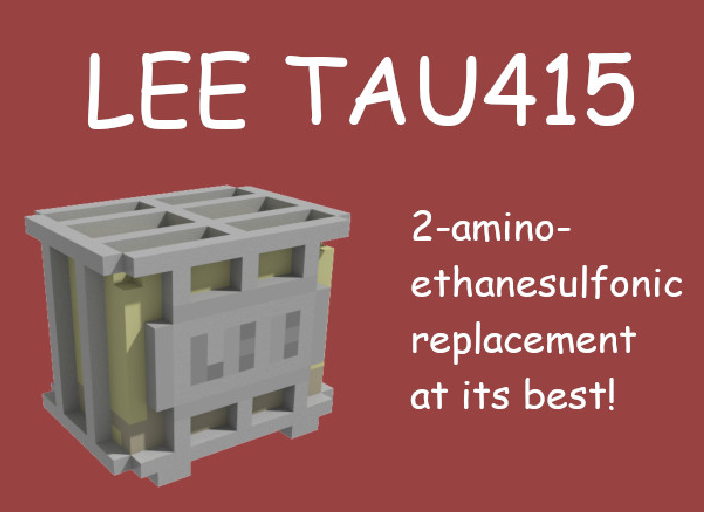
Trying to visualise 3D textures in 2D is difficult, so to give you a good example of how this works, I extracted a 3D texture from the framebuffer in this capture and wrangled it into Blender for some rendering!
Below is a representation of the 3D texture with its single channel (monochrome) index values mapped to the colour channels.
Along with this, there is the texture that holds all the colours these index values map to. The image below is just a snippet of the whole texture which contains all the colours for the scene. This snippet does not necessarily have the colours for the sign. Without diving into the code, I'm guessing that each row is an object.

With both of these, we can get our final colours per voxel. Below is a 2D example of this in action

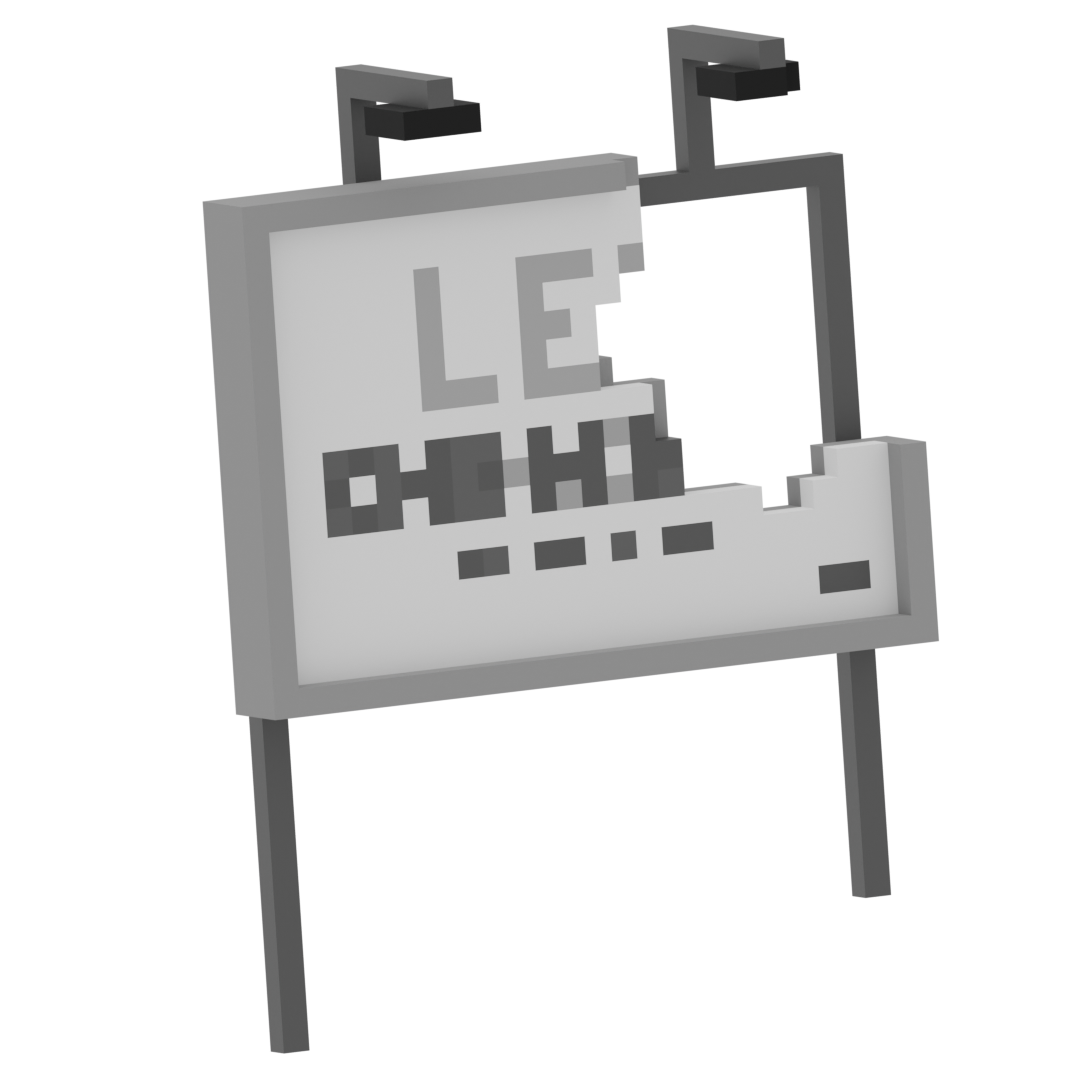
With the colours applied to our voxels, we get this!
That isn't the whole story though! The model above is made up of 891 cube meshes with different materials, 10692 triangles and is rendered in 891 draw calls. The sign in Teardown however, is rendered in a single draw call, and is made up of only 12 triangles!
This is because in Teardown, all of the complexity of the structure is held in the 3D voxel textures and is fleshed out by the fragment shader.
This is where I was hoping to explain how the fragment shader works, but like all shader code, it's quite hard to read. I think I understand it well enough to summarise though.
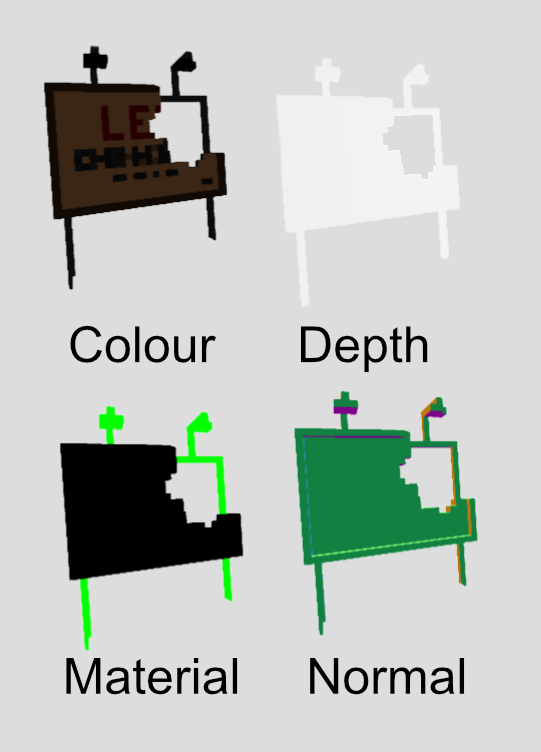
The method it uses is called ray casting, where a ray is cast from the camera towards the the point in space we are looking for. As the ray steps along, intersection tests are made against the 3D texture and once it intersects, it stops, and returns the colour index amongst other things such as the depth of the ray and normal data (not sure how it does this but it's smart!).
Here are some of the images (there's some others for masking and transparency but we don't care about those) that result from this shader. You'll notice the material image which was generated using an index in the same way as the colour image. It's used later on to know how metallic (or other properties) a pixel is.
After this, there is some lighting effects that are applied, but because it's daytime the only light that has any effect is the sun. Curiously, there still seems to be a draw call of each of the lights in the scene, they just don't do anything 🤷.
Just after, there is some reflections drawn, using the material texture from earlier, to determine whether something is reflective or not.
And to finish off the cube map sky texture is drawn, and some bloom is added on top ☀️
Before I finish, I want to mention this great video which shows some of the creative ways you can manipulate the colour palette to do animations!
I'd also like to apologise for any repetition or poor writing so far, it's hard to write about this stuff using words rather than code and maths. And sorry again for any inaccuracies 😅 I'm just piecing things together using Renderdoc so I'm bound to be off in some places.
Suite-Pee by System Of A Down. Good tune, kinda angry and pretty short but it's fun. Intro is amazing and the bridge is like nothing else!